
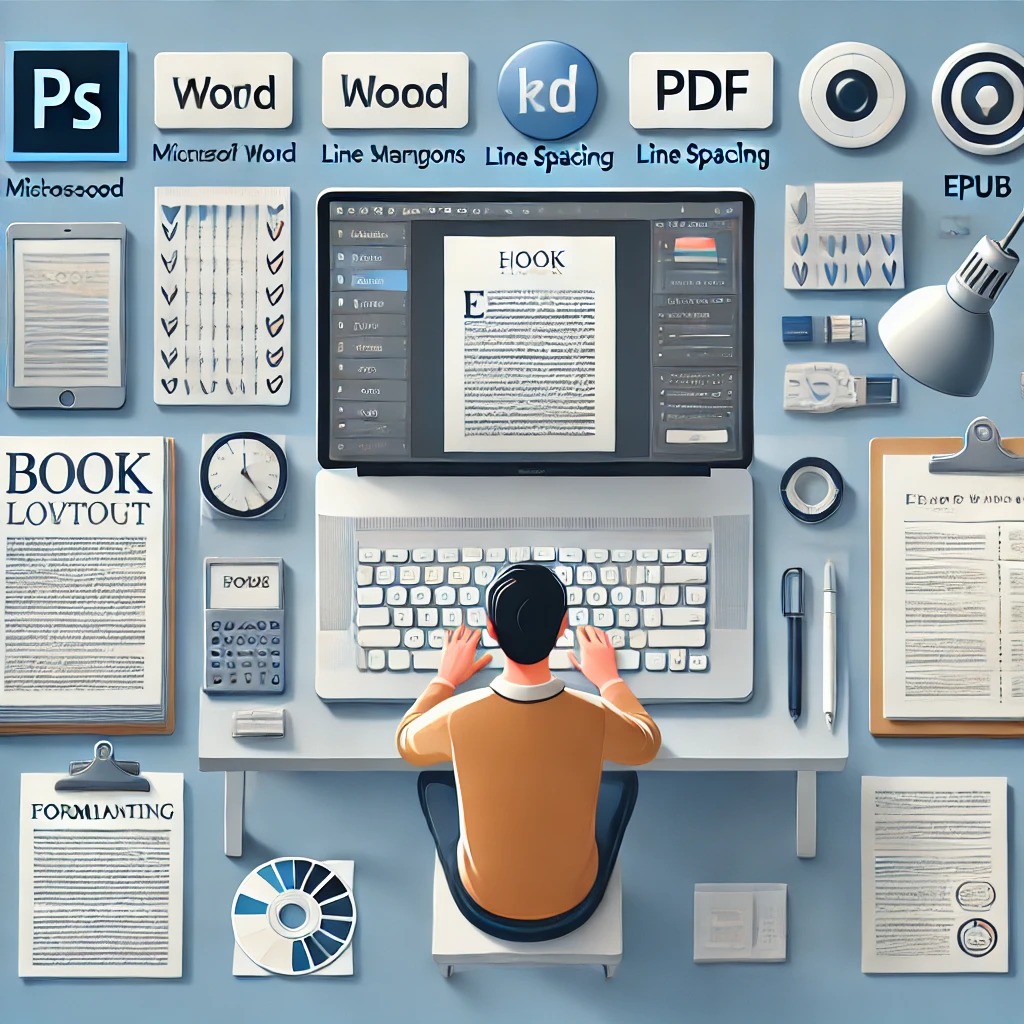
Formatting is an essential step in the publishing process that ensures your book looks polished and professional. Whether you’re self-publishing on Amazon KDP or preparing for traditional publishing, proper book formatting enhances readability and improves the reader’s experience.
In this guide, we’ll cover how to format your book for print and eBook formats, avoid common mistakes, and ensure your book meets industry standards.
Why Book Formatting Matters
A poorly formatted book can lead to negative reviews, poor readability, and reduced sales. Readers expect a clean layout, consistent fonts, proper margins, and correct spacing. Professional formatting makes your book look credible and keeps readers engaged.
Step 1: Choose the Right Trim Size
Before formatting, select the right trim size (the dimensions of your book).
✅ Popular Trim Sizes for Print Books:
- 5” x 8” (fiction, memoirs)
- 6” x 9” (non-fiction, self-help)
- 8.5” x 11” (workbooks, textbooks)
✅ For eBooks (Kindle, ePub):
- eBooks don’t have fixed sizes, but they must be responsive to different screen sizes.
💡 Pro Tip: If using Amazon KDP, check their trim size recommendations here.
Step 2: Set Up Page Margins & Line Spacing
✅ Print Book Margins:
- Standard: 0.5” to 1” on all sides
- Gutter margin (for binding): 0.75” to 1”
✅ Line Spacing:
- Fiction: 1.15 – 1.5 line spacing
- Non-fiction: 1.5 – 2.0 line spacing
💡 Pro Tip: Always justify text alignment for a professional appearance.
Step 3: Select Professional Fonts
Choosing the right fonts enhances readability.
✅ Best Fonts for Print Books:
- Serif Fonts: Times New Roman, Garamond, Georgia
- Sans-serif Fonts (for headings): Arial, Calibri, Helvetica
✅ Best Fonts for eBooks:
- Amazon Kindle prefers Bookerly and Georgia
- Apple iBooks uses San Francisco and Athelas
❌ Avoid: Fancy, decorative, or script fonts—they reduce readability.
Step 4: Format Chapter Headings & Paragraphs
✅ Chapter Titles:
- Use a large, bold font (14pt-18pt)
- Center align for print books; left-align for eBooks
✅ Paragraph Formatting:
- Indent the first line by 0.3” to 0.5”
- Avoid double spaces after periods
- Use scene breaks (three asterisks *** or a blank line)
💡 Pro Tip: Use page breaks after each chapter to ensure clean formatting.
Step 5: Add Page Numbers & Headers
✅ For Print Books:
- Page numbers start from Chapter 1 (not the title page)
- Use running headers with the book title or author name
✅ For eBooks:
- No page numbers (eBooks are scrollable)
- Use hyperlinked Table of Contents (TOC)
💡 Pro Tip: If using Microsoft Word or Google Docs, insert automated page numbers in the footer.
Step 6: Convert Your Book to the Right Format
✅ For Print Books (Paperback, Hardcover):
- Save as PDF (for KDP, IngramSpark, Lulu, etc.)
✅ For eBooks (Kindle, Apple Books, etc.):
- Convert to EPUB (preferred for most platforms)
- Amazon KDP accepts MOBI and EPUB
💡 Pro Tip: Use Calibre, Kindle Create, or Vellum (Mac) for easy conversions.
Step 7: Test Your Book Before Publishing
✅ For Print Books:
- Order a proof copy before final publishing
- Check for margin errors, font size issues, and spacing problems
✅ For eBooks:
- Use Amazon’s Kindle Previewer to see how your book appears on different devices
- Test on multiple devices (Kindle, iPad, phone, PC)
💡 Pro Tip: Ask beta readers to check formatting before launch.
Final Thoughts
Proper book formatting ensures a professional appearance, enhances reader experience, and boosts your credibility as an author. By following these steps, you’ll have a book that’s ready for Amazon KDP, Apple Books, or traditional publishing.
🚀 Need help formatting your book? Drop your questions in the comments below! 📖